MAKE A POP ART MASTERPIECE: Roy Lichtenstein–Inspired Pop-Up Cards

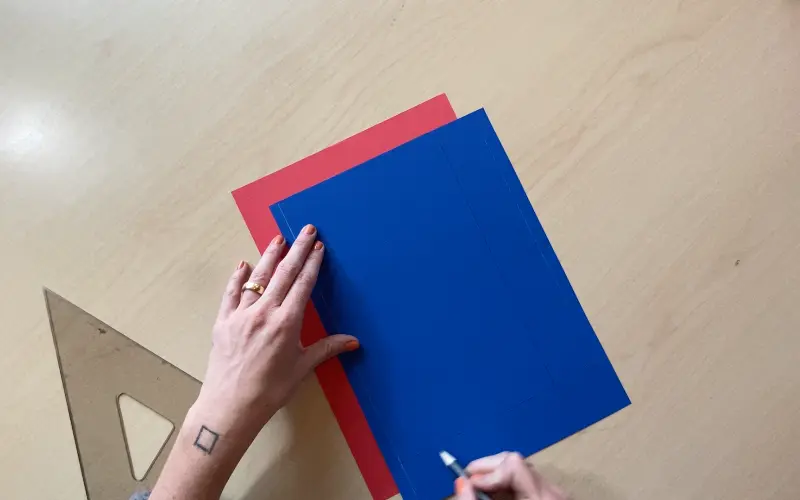
Choose one colour for the outer shell (red) and one for the inner layer (blue). Trim the inner sheet so it's approximately one inch smaller on all sides. This creates a clean border frame when assembled.
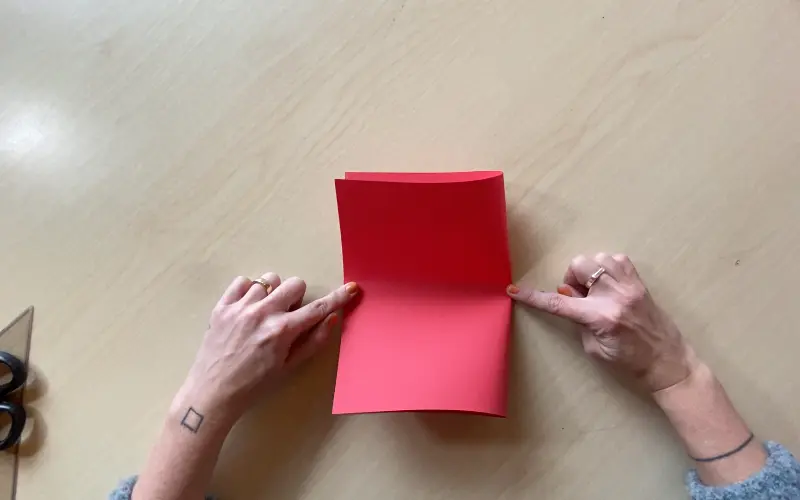
Bring one edge of the paper to meet the opposite edge exactly. Hold in place, then press one finger firmly down the center and slide horizontally to lock the crease. Do this for both sheets. A sharp, even fold is essential for the pop-up to work.
On the folded edge of the inner (blue) sheet, draw two parallel lines about 1 inch apart, perpendicular to the fold. Cut along both lines. This creates a tab that stays attached at both ends but moves freely in the middle — this is the spring that makes the pop-up work.
Open the card slightly and push the cut tab forward through the fold so it points inward. Pull it toward you to set the crease firmly, then close the card and press down hard. This "trains" the tab to spring forward automatically every time the card is opened.
Apply glue to the back of the inner blue sheet — but avoid the pop-up tab entirely. If glue gets on the tab, the mechanism will jam. Align both center creases carefully and press together. Rub gently from the outside to bond the sheets securely.
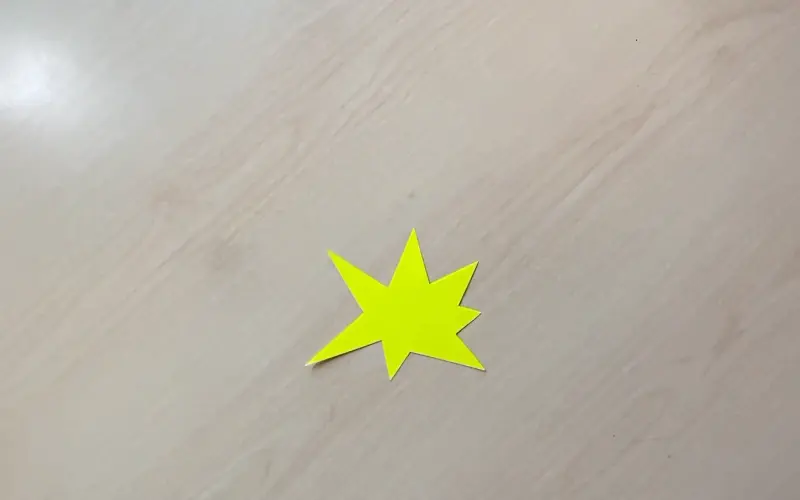
On yellow cardstock, sketch a large jagged star — irregular and dramatic, like a comic-book explosion. It needs to be bold enough to be high-impact but still fit inside the card when closed. Outline everything firmly with a thick black Sharpie.
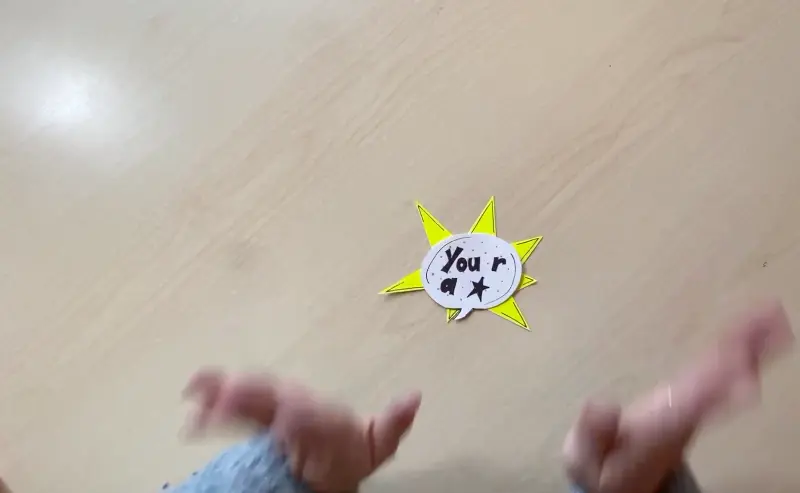
On white paper, draw an egg-shaped oval — this is your message bubble. Write your personalised message (e.g. "Happy Birthday!" or "KABOOM!") inside while the paper is flat on the table. This is much easier than writing once it's mounted inside the card.
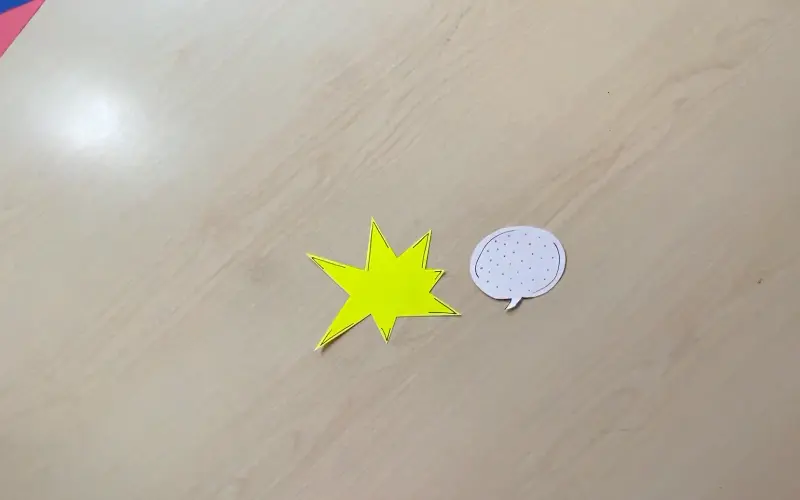
Use a red marker to fill sections of your bubble or star with evenly spaced dots — this is the signature Ben-Day technique that gives pop art its vintage comic feel. Lightly pencil a grid first to keep dots uniform, then go over with your marker. Outline both shapes with thick black Sharpie.
Glue the finished message bubble to the center of the yellow explosion star. Press firmly and let it dry flat. Once dry, cut around the outside of the star — leaving a thin black Sharpie border for a crisp, graphic edge.
Cut long tapered strips of red paper for "exclamation line" accents, and small circles from yellow and blue scrap paper for polka dots. Glue three accent pieces in the top half and three in the bottom half for visual balance. These details make the card feel dynamic and complete.

Apply glue to the bottom half of the protruding tab only — not the top, and not the card background. Press the back of the star firmly onto the glued tab and hold for 30 seconds. Close the card gently to confirm it folds flat, then open it. Your star should spring forward. Done!
Ready for More Creative Fun?