Home Art Fun Series
SANDRA TARANTINO
BARBARA REID NATURE SCENE
Capture a scene from your explorations using techniques inspired by Barbara Reid project in our series of DIY art activities for kids.THE BOOK
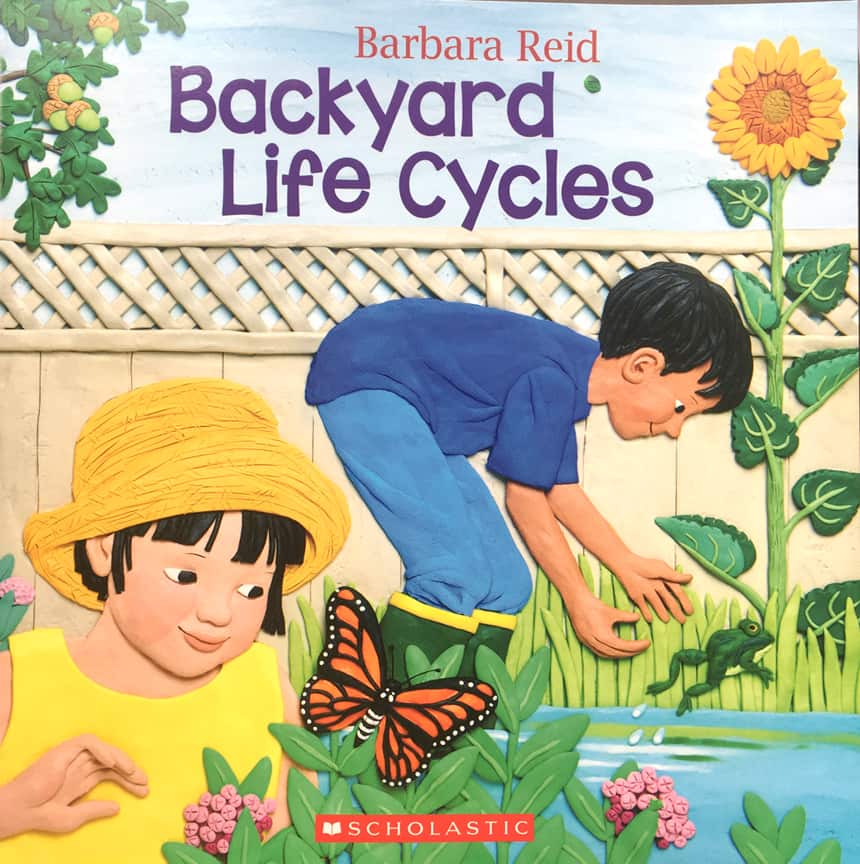
backyard life cycles
By BARBARA REIDBarbara Reid's one-of-a kind art brings an engaging exploration of nature to life! Readers young and old will enjoy this introduction to the marvels of the natural world: watching a tadpole hatch from an egg, a caterpillar turn into a butterfly, an acorn become a mighty oak and a glorious sunflower grow from a tiny seed!
Barbara Reid's love of the outside was celebrated in her acclaimed picture books Picture a Tree and Picture the Sky, and in Watch It Grow, she blends simple text with her signature Plasticine illustrations to awaken curiosity and encourage learning.
SHOP LOCAL (SHIPPING AVAILABLE):
INDIGO
A DIFFERENT BOOKLIST
BOOK CITY
WHAT YOU'LL NEED
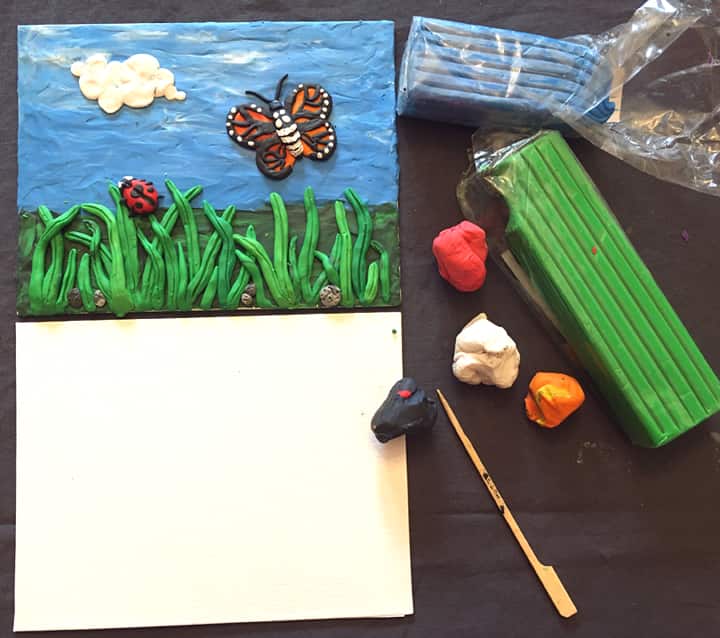
- Blank canvas board (7 x 9 suggested)
- Modelling clay (plasticine) in red, yellow, blue, white and black
- Textural tool (like a bamboo skewer or popsicle stick)
WHAT to do
Take a walk outside
Ask the following questions:
- What changes are you seeing in nature?
- Are there new things happening to plants that you can see?
- Do you see different types of animals?
Create a quick sketch of these things or take a picture that you can look back to.
1. Read Harvesting Dreams and use the links below to explore his work. 2. Look at how he used different types of lines, shapes, colour and pattern in his artwork and buildings.
PREPARING YOUR COLOURS
1. Think of what colours you’ll need for your scene. You can either use a pre-mixed colour or create your colours using the primary colours to mix all the colours in the rainbow. Yellow + Blue (small amount) = Green Yellow + Red (small amount) = Orange Red + Blue (small amount) = Violet Add white to make a colour lighter. Add a small amount of black to make a shade darker.

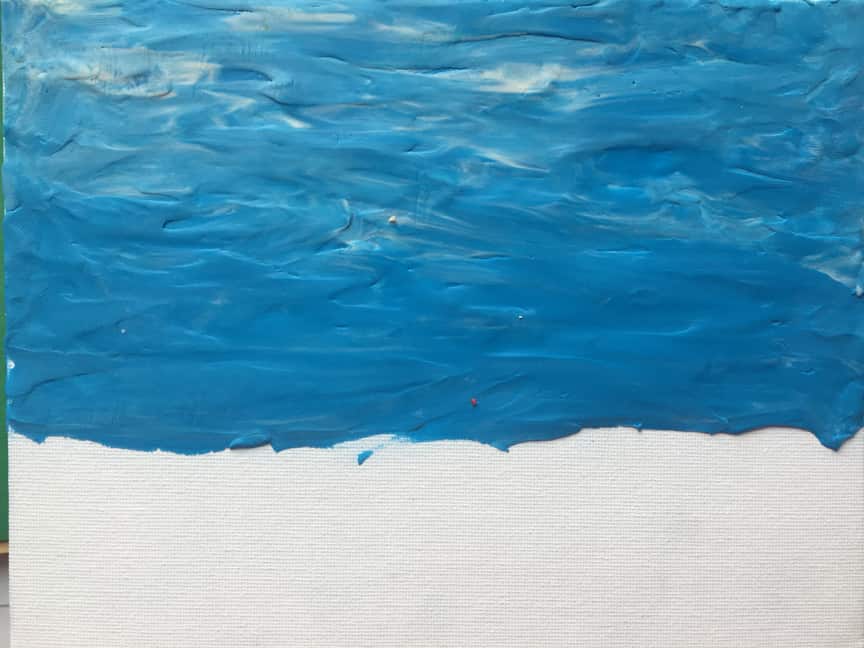
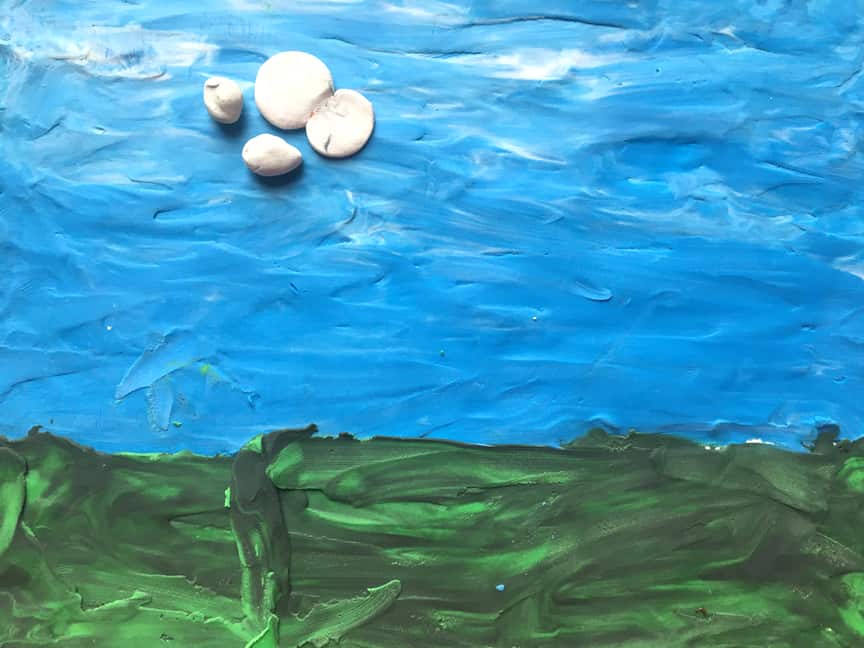
CREATE YOUR BACKGROUND
1. Mix blue and white modelling clay together to get a light shade of blue for your sky. You can hold the clay in your hand to warm it up and make it more malleable for mixing. 2. Place your canvas board in a horizontal position. Decide how much of the top section will be sky and how much will be the ground. If you are doing butterflies, for example, you may want a larger sky area. 3. Take small amounts of modelling clay and spread it onto the board while pressing into the canvas. This will help the clay stick well to the board. You can use a popsicle stick to help you spread, but your thumb is usually the best tool. 4. Mix a dark shade of green for your ground.
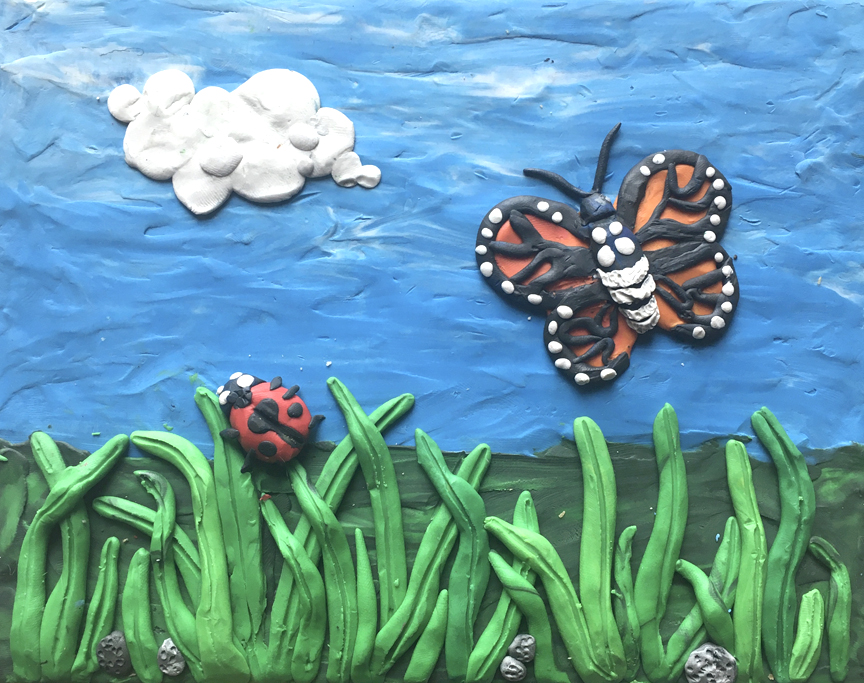
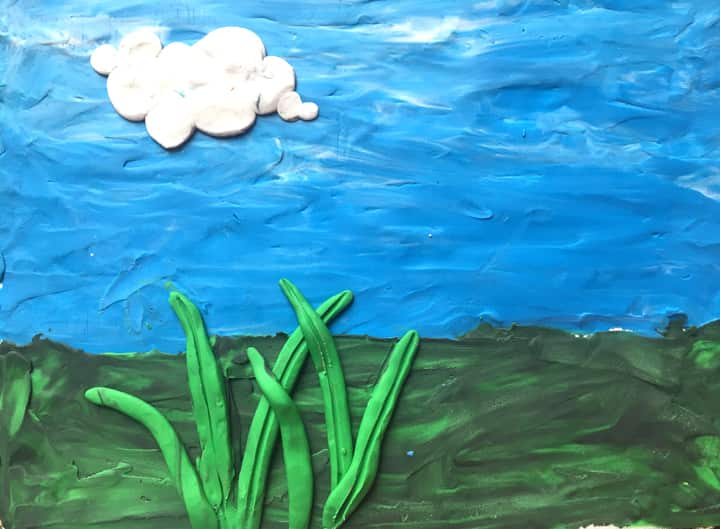
ADD PLANTS AND ANIMALS TO YOUR SCENE
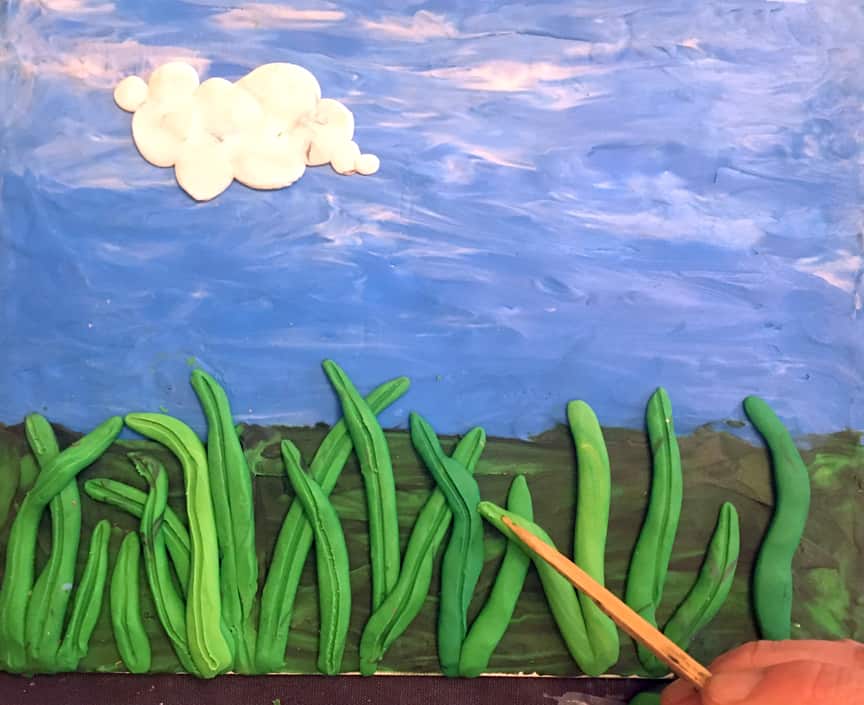
1. Decide what details you would like in your scene. Will you have grass or plants with leaves? Flowers? What insects could you include? 2. Look and see what shapes you see. A ‘worm like’ coil could be used for grass. Create many blades of grass and layer them. You will want to mix a different tone of green for this so that it stands out against the dark green background. You can do this by mixing more white and yellow with a small amount of blue to make light green.

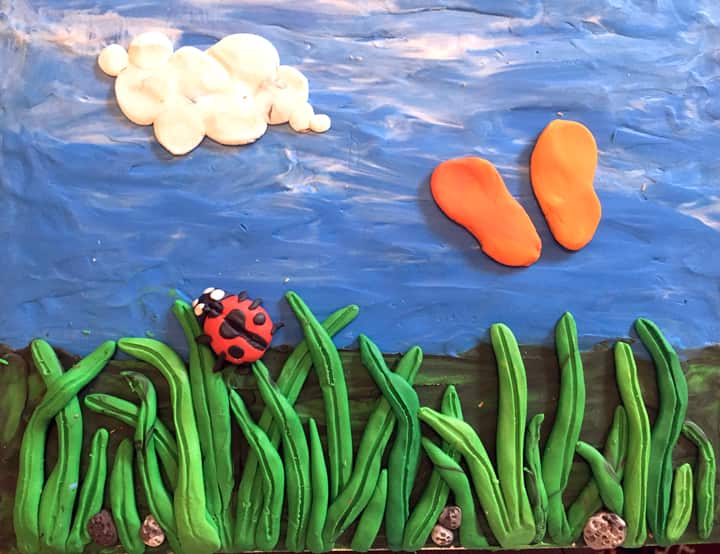
3. Flatten a ball of clay into an oval shape for the body of a ladybug or put four ovals together for butterfly wings. 4. Use small amounts of clay for details like spots.
5. A skewer stick can be used to create lines and texture in different ways. For example, dots on little rocks or fuzzy hair on a caterpillar. Try pressing other objects into the clay as well. A toothbrush, bumpy rock, lego piece or other can help add details to different objects in your scene.
Have fun!