Rainbow Magic: Mastering the Wet-on-Wet Technique!

About this project: This project is all about the Wet-on-Wet technique. Instead of painting on dry paper, we’re going to turn our page into a "glistening ice rink" first. This allows the colours to "zip" and "zoom" across the page, blending themselves into beautiful patterns that you could never create by hand. It’s half-painting, half-science experiment!
What You'll Need
Watercolour Paper
Thick paper (like cardstock or mixed media)
Masking Tape
The "magic" blue or white tape.
Two Jars of Water
One for "dirty" brushes and one for "fresh" water.
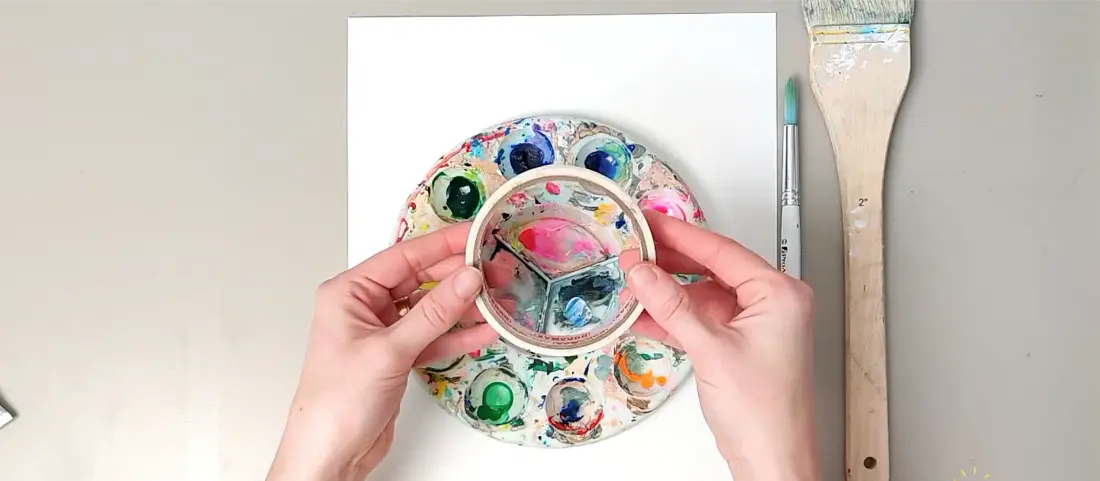
Watercolour Paints
Tubes or a pan tray (either works!)
Brushes
One big "mop" brush and one smaller "detail" brush.
Paper Towels
To keep things from getting too messy!
Step-by-Step Guide
7 steps · about 45 minutes
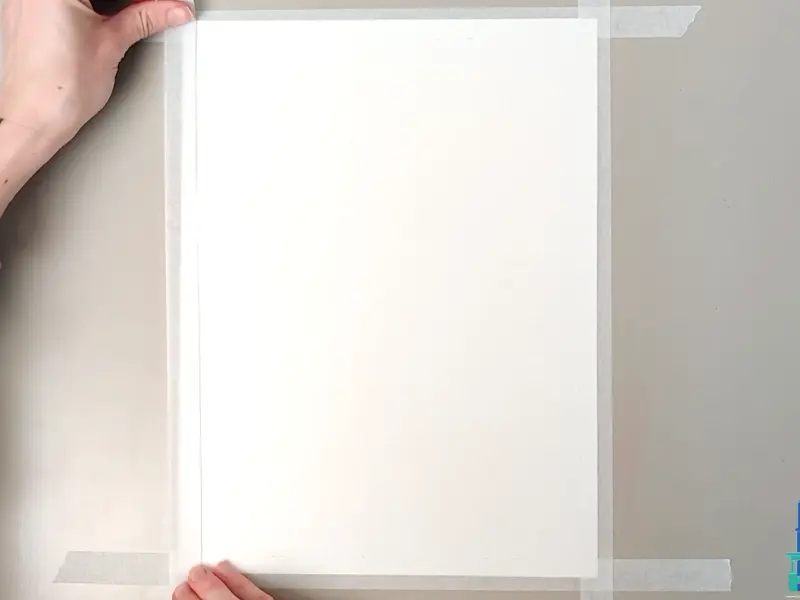
Taping down your masterpiece.
The Frame Up
We’re going to get this paper really wet, and when paper gets wet, it likes to curl up! Taping it down keeps it flat and creates a cool, professional white border at the end. Pro Tip: Make sure your tape is pressed down hard so no paint sneaks underneath!
Pro move: Make sure your tape is pressed down hard so no paint sneaks underneath!
Getting your colors ready for the dance.
Mixing "Slurpy" Paint
Take a bit of paint and add water until it’s nice and runny. We call this "slurpy" paint! If it's too thick, it won't move; if it's just right, it will swirl beautifully.
Use "Analogous Colours"—colours that are neighbours on the rainbow (like blue and green)—to keep things looking bright!
3
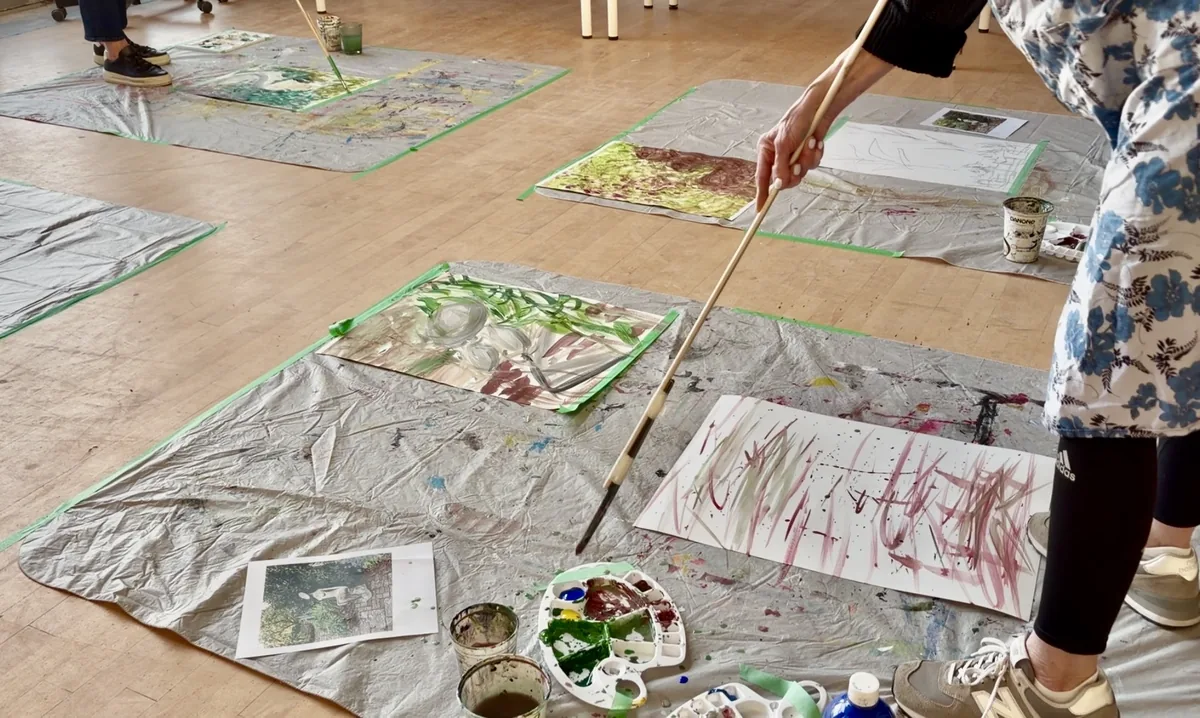
Preparing the "Wet" in Wet-on-Wet.
The Glistening Ice Rink
Paint the entire paper with nothing but clear, clean water. Use your big brush to cover the paper in water. You want it to look like a "glistening ice rink.
Pro move: Tilt your head to the side! If the paper is shiny and shimmery in the light, you’re ready. If it has big puddles, use a dry brush to soak them up.
4
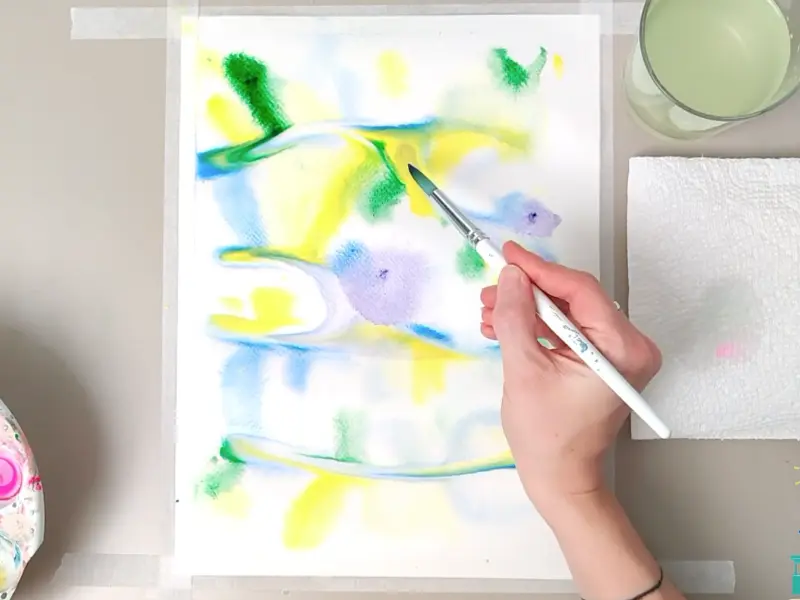
Watching the magic happen.
The Big Colour Drop
Touch your "slurpy" paint to the wet paper and watch it "zip!"
Dip your small brush in colour and just tap the paper. Because the paper is wet, the paint will explode outward like a little firework.
5
Adding movement to your art.
Swirls and Twirls
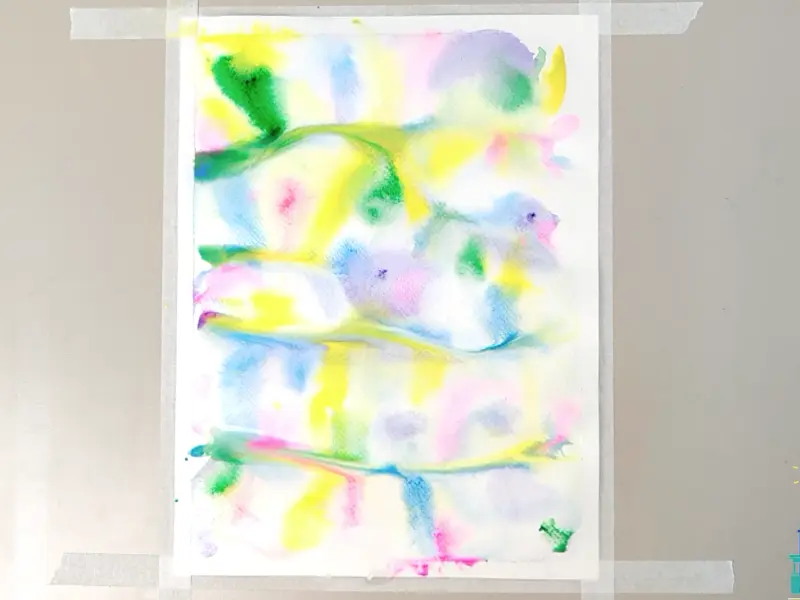
Add new colors and gently tilt your board to make them "swim."
Drop in a second or third color. You can lift your paper and tilt it left and right to make the colors run into each other and create "Tie-Dye" swirls.
Pro move: Rinse your brush in the "dirty" water and then the "clean" water every time you change colors to keep your palette bright.
6
Keeping your colors "happy."
Avoiding the "Mud Trap"
Be careful when mixing "opposites" like purple and yellow.
Some colours are "opposites" (like blue and orange). When they mix too much while wet, they can turn into a grumpy, murky brown. Try to keep them on different sides of your paper!
Pro move: If you see a "muddy" spot starting, use a clean paper towel to gently dab it away!
7
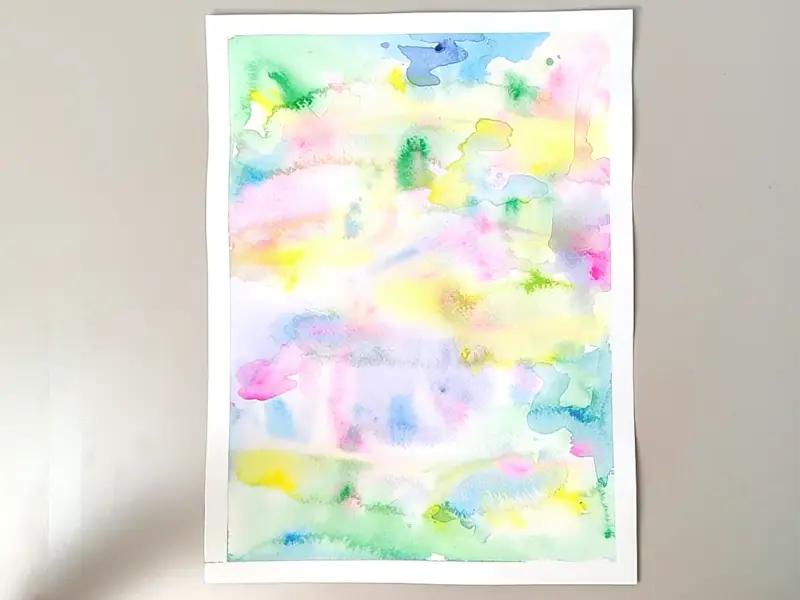
The most satisfying part!
The Final Reveal
Let it dry completely, then peel the tape.
Once your painting is bone dry (wait at least an hour!), carefully peel the tape away from the center of the paper.
Pull the tape slowly at an angle so you don’t rip your beautiful new artwork.
Pro move: Rinse your brush in the "dirty" water and then the "clean" water every time you change colors to keep your palette bright.
We'd love to
see your work
You put real effort into this — share it with us and keep the creative spark going with more tutorials in your inbox.
We share new art projects, craft ideas, and step-by-step tutorials — perfect for the whole family. We'd love to have you along for the ride.